
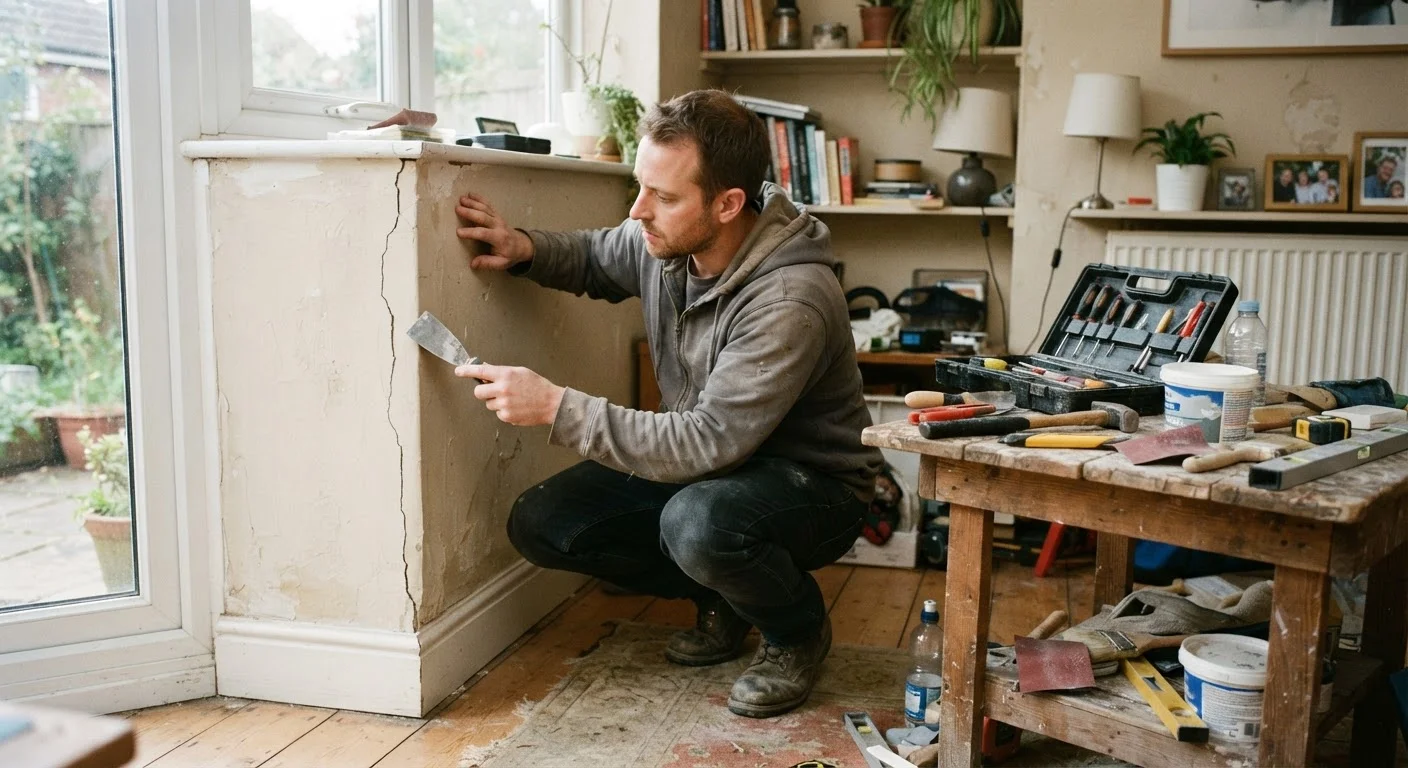
Why DIY myths are expensive
Home repair advice circulates freely online, from neighbors, and through decades of passed-down habit. Some of it is sound. A lot of it is not, and the gap between the two can show up directly in your wallet. Bad technique wastes materials. Misplaced confidence leads to calls to contractors who now have to undo your work before starting theirs. And some repairs, left to the wrong approach, cause damage that compounds over months or years.
This is not about discouraging DIY. Done well, DIY saves real money. The goal here is to correct the specific beliefs that reliably produce the opposite result. If you are new to owning a home, this plain-language introduction to home maintenance covers which tasks are DIY-friendly and when to call a licensed professional.
Myth
You can skip the prep work and just apply paint directly to save time.
Fact
Surface preparation determines how long paint adheres. Skipping it is the leading cause of early paint failure.
Painting over dirty, glossy, or damaged surfaces prevents the new coat from bonding correctly. Within months, you may see peeling, bubbling, or uneven coverage, which means buying materials and spending time a second time. Proper prep includes cleaning the surface, sanding glossy areas, filling holes, and priming bare or stained spots. The time spent on prep is shorter than the time spent repainting a failed job.
Myth
More caulk means a better seal, so applying it generously is the safe choice.
Fact
Overapplied caulk shrinks unevenly as it cures, causing cracking and separation from the substrate.
Caulk manufacturers specify bead widths for a reason. A bead that is too large cannot cure uniformly, and the outer skin dries while the interior remains wet. The resulting stress causes the bead to crack or pull away from one surface. Applying the correct bead size, typically around 1/4 inch for most household joints, and tooling it flat gives a more durable seal than a thick fillet that looks thorough but fails faster.
Myth
If a repair looks simple, it is safe to handle yourself without checking further.
Fact
Visual simplicity does not reflect what is behind walls, floors, or ceilings. Some accessible-looking repairs involve hidden electrical, plumbing, or structural components.
A small ceiling stain might indicate a slow plumbing leak above a finished floor. A wall outlet that stops working might be the symptom of wiring that needs professional evaluation. Before opening walls or pulling fixtures, it is worth determining what systems are nearby. Electrical work and anything touching gas lines or load-bearing structure typically requires a licensed contractor and, in most jurisdictions, a permit. Proceeding without that evaluation can create safety hazards and code violations that cost more to correct than the original repair.
Myth
Buying the cheapest materials always saves money on a DIY project.
Fact
Low-cost materials frequently underperform and require the repair to be redone sooner, increasing total cost.
Material quality affects how long a repair holds. Bargain caulk, patching compound, or fasteners that fail within a year mean you pay in time and materials twice. This does not mean buying premium products across the board; mid-range options often perform comparably to the highest-priced ones. The useful question is whether the material is rated for the specific application, such as whether a caulk is suitable for wet areas, rather than simply which option costs least at the register.
Myth
Small problems can wait indefinitely because they will not get worse on their own.
Fact
Most minor home defects worsen over time when left unaddressed, and the repair cost grows with them.
A minor roof shingle gap can allow water infiltration that eventually reaches the decking, insulation, and ceiling below. A small crack in exterior caulking around a window frame allows moisture into the wall assembly. Neither problem announces itself loudly until the damage is already significant. Addressing small defects promptly, while they are still inexpensive to fix, is where a lot of DIY savings are actually found.
Where the real savings come from
Avoiding these myths is only part of the equation. The other part is understanding where DIY effort actually pays off. Routine inspections, timely small repairs, and correct technique on straightforward tasks are where homeowners consistently recover the most money. Deferred maintenance carries costs that are easy to underestimate, and a seasonal maintenance checklist can help you stay ahead of those expenses.
Tools are another area worth scrutinizing. Buying equipment for a one-time project often makes less financial sense than people expect. Renting vs. buying tools is worth working through before any larger project. And when a repair reaches the complexity of, say, patching damaged drywall, understanding where DIY drywall repair works and where it gets complicated helps you set realistic expectations before buying supplies.
The same logic applies to exterior painting. Incorrect prep and application lead to peeling within a season or two, meaning the job has to be done again. Common DIY exterior painting errors covers the preparation mistakes that drive most early paint failures.
This article provides general home maintenance information for educational purposes. For repairs involving electrical systems, gas lines, structural elements, or any work that may require a permit, consult a licensed professional and verify local code requirements before proceeding.