
What most homeowners can handle
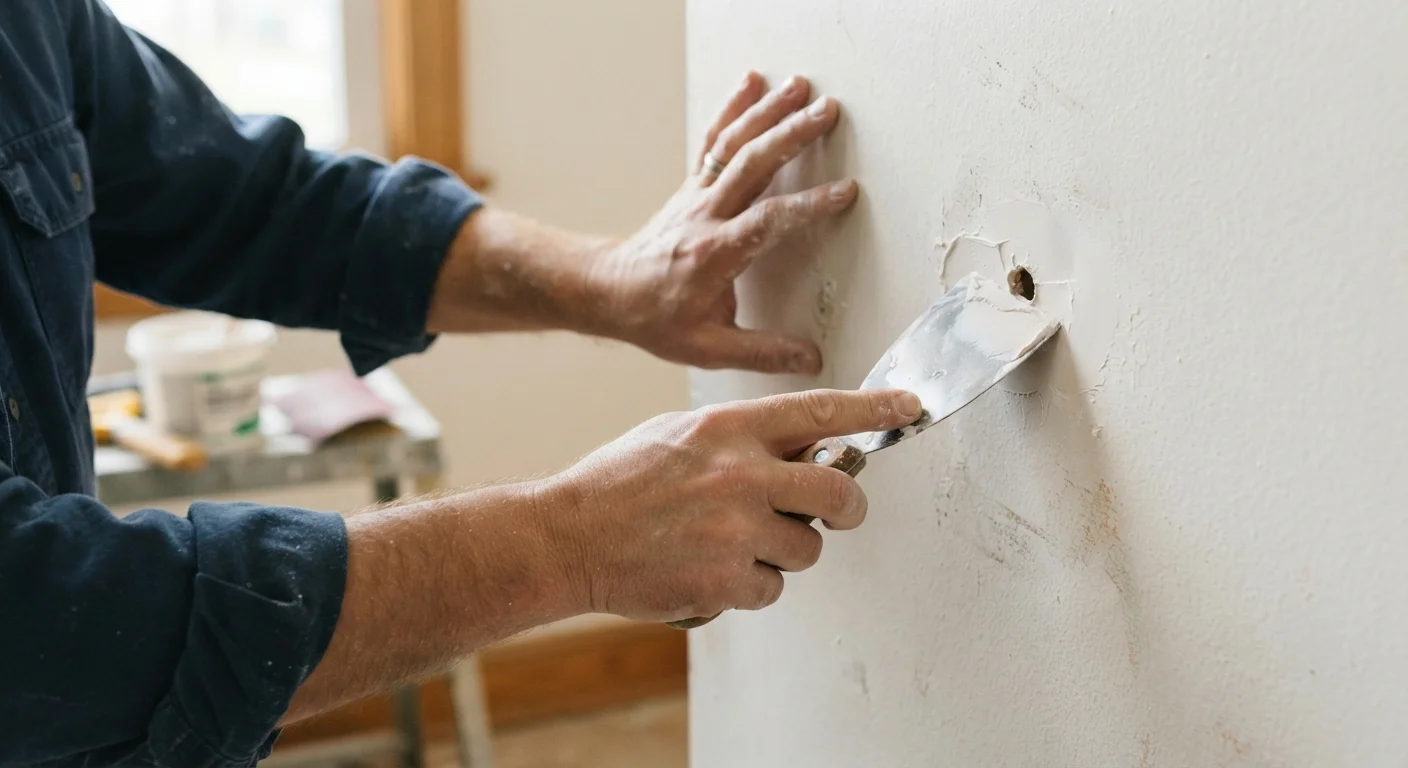
Drywall is forgiving material for small repairs. Nail holes, screw pops, and dings from furniture are straightforward because the surrounding drywall is sound, no structural element is involved, and the damaged area is small enough to bridge with pre-mixed joint compound and a little mesh tape or a prefabricated patch kit.
Holes up to about 6 inches across fall within the DIY range for most people. The basic process runs the same regardless of size: clean the edges, apply a backing or patch, build up compound in thin coats, sand smooth, prime, then paint. The step that trips up most first-timers is rushing. Joint compound needs to dry fully between coats, which can mean waiting 24 hours per layer depending on humidity and coat thickness.
Nail pops (where a fastener pushes through the paper face) require a slightly different fix. Drive the popped fastener back in or add a new screw nearby to pull the panel tight, then cover with compound. Skipping the refastening step means the pop returns after painting.
For more context on which repairs are worth tackling yourself and which carry hidden costs if deferred, see our guide to routine maintenance costs.
The pros of doing it yourself
Low material cost for small repairs
Basic patch kits, compound, and sandpaper cost under $30 at most hardware stores, compared to $100 or more for a minimum service call.
No special license or permit required for small patches
Patching holes that do not involve electrical, plumbing, or structural elements is unregulated in virtually every U.S. jurisdiction, so homeowners can proceed without paperwork.
Flexible scheduling on your timeline
You can start and pause the repair across a few days without coordinating with a contractor, which matters when compound requires extended drying time between coats.
Builds a reusable skill
Nails holes and minor damage appear repeatedly over the life of a home, so learning the process once pays off across many future repairs.
Material costs for small patches are low. A tub of pre-mixed joint compound, a sanding sponge, a putty knife, and a self-adhesive mesh patch typically total well under $30. Compare that to a service call, which generally runs $100 or more before any materials are counted.
There is also the scheduling benefit. You can patch a hole the same day you notice it rather than waiting for contractor availability. And because you control the pace, you can do it in stages without disrupting the rest of a day.
Where it gets complicated
Texture matching is difficult without practice
Spray texture application requires practice and often specialized equipment. A mismatched patch in a textured room is typically visible under raking light even after painting.
Water damage requires more than patching
Drywall softened or stained by moisture must be removed and replaced after the moisture source is corrected. Patching over it traps damage and can conceal mold.
Large repairs demand professional finishing skill
Feathering compound over wide seams and matching texture across a large area requires experience. Amateur finishing in main living spaces often leaves permanent visual flaws.
Priming and paint blending are frequently skipped
Compound without primer absorbs paint unevenly, causing visible dull spots. Blending paint over a small patch almost always requires repainting the full wall to avoid a color mismatch.
Hidden hazards are possible in older homes
Homes built before the 1980s may contain asbestos in joint compound or lead in paint; cutting or sanding without testing first poses a health risk that requires professional assessment.
Three situations push a drywall repair beyond what most homeowners should attempt without professional input.
The first is water damage. If the drywall is soft, stained, or crumbling from moisture, patching the surface does nothing useful. The source of the moisture has to be found and corrected before any repair material goes on, and the affected drywall usually needs to be cut out and replaced. Mold present in the cavity behind the panel raises additional concerns that go beyond cosmetic repair.
The second is large-scale panel replacement. Cutting out and replacing a full section requires access to studs, cutting new drywall to fit, taping and feathering seams over a wide area, and matching texture across a large surface. Texture matching is genuinely difficult even for experienced DIYers, and a visible patch in a main living area can affect the look of a room permanently.
The third is damage near electrical boxes, load-bearing walls, or plumbing chases. These areas may involve regulated or hazardous work that requires licensed trades and, in many jurisdictions, permits. Do not cut into walls in these areas without confirming what is behind them.
Also worth knowing: common DIY misconceptions around drywall repair often lead people to apply too much compound at once, skip priming, or use the wrong product for the job, each of which turns a small repair into a redo.
Texture matching: the step that exposes amateur work
Older homes: test before you sand
Homes built before 1980 may have joint compound containing asbestos, and painted surfaces may contain lead. Sanding disturbs both. Before cutting or sanding any drywall in an older home, consider having the material tested by a licensed inspector. This is not a precaution to skip, particularly in homes with young children or pregnant household members.
The patch itself is rarely what looks bad after a DIY repair. The texture mismatch is. Walls finished with orange peel, knockdown, or skip-trowel textures require practice and usually specific spray equipment or technique to replicate convincingly. A smooth patch in the middle of a textured wall will catch light differently and stay visible under paint.
Before attempting texture, buy a small can of spray texture and test it on a piece of scrap drywall or cardboard first. Orange peel and knockdown textures are applied differently and must dry before you assess the result. Matching the existing pattern takes more than one attempt in most cases.
If the room has a smooth finish, this concern largely disappears, and your main job is sanding flush and applying a coat of drywall primer before painting. Priming is not optional: compound is porous and will absorb paint unevenly without it, leaving a dull spot called flashing.
Painting is its own challenge after patching. Blending a small painted area into an existing wall almost always requires painting the full wall to avoid a visible color difference, even when the paint is from the same can. See our article on common painting errors for related prep and application guidance.
When to call a professional
Call a professional when the damaged area is larger than roughly 6 inches, when there is any sign of moisture behind the wall, when the damage is in a ceiling (overhead work and finishing seams overhead is significantly harder), or when the room has a texture you cannot identify or replicate.
A professional drywall finisher carries the tools and experience to blend large repairs invisibly and to work efficiently. The cost is real, but so is the risk of a permanent visual flaw in a main living space or an incomplete repair that hides ongoing structural or moisture damage.
If you are new to home upkeep generally, the plain-language introduction to home maintenance covers how to evaluate which tasks fit your skill level and when licensed help is the more cost-effective path.