
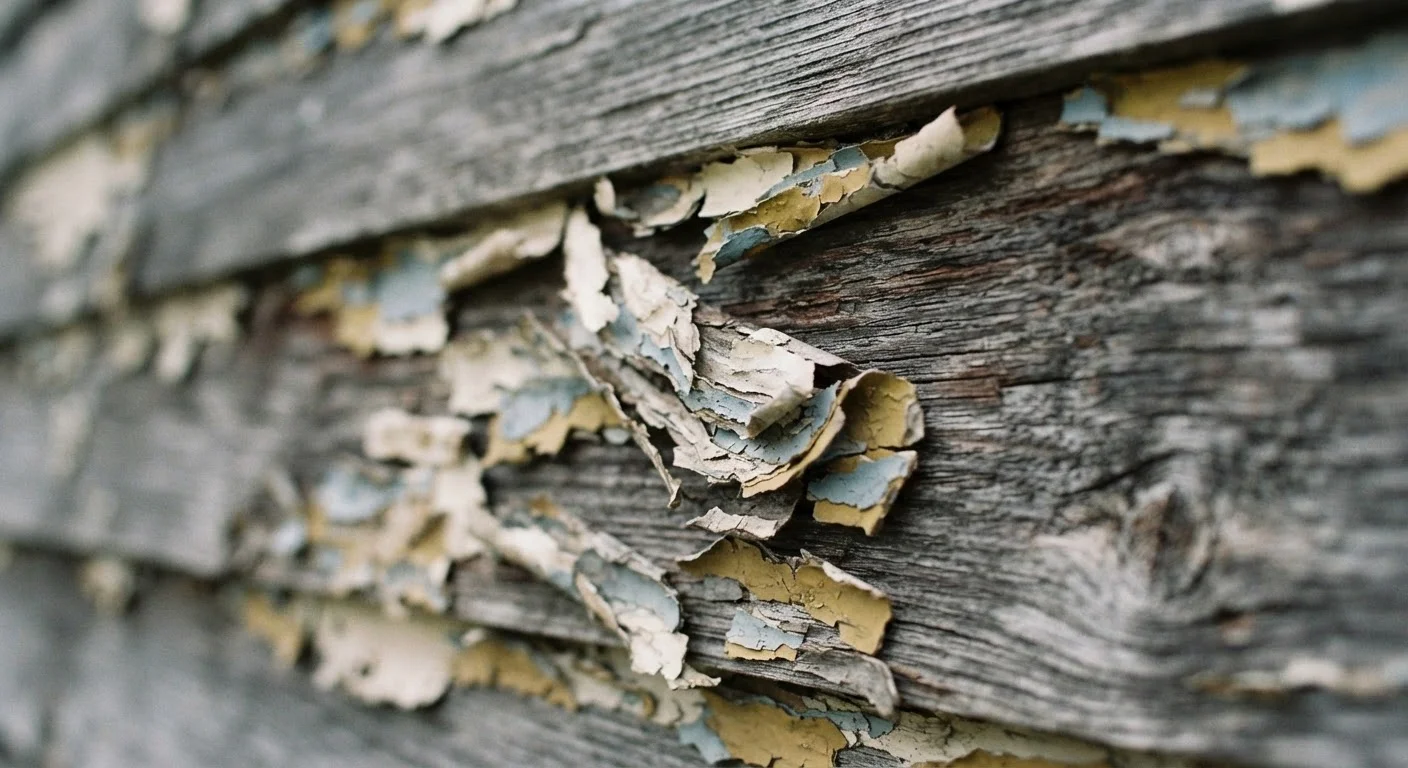
Why exterior paint fails before it should
A quality exterior paint job can last 8 to 12 years on wood siding when applied correctly. Many DIY repaints start peeling within two or three years. The difference almost always comes down to preparation and application conditions, not paint quality. Paint cannot compensate for a surface that has not been properly cleaned, primed, and sealed. Once water gets behind the film, peeling is inevitable.
The financial cost of a premature repaint is real. Materials alone for an average house exterior run several hundred dollars, and the time investment is substantial. Understanding why paint fails helps you avoid repeating the same mistakes on the next coat. For a broader picture of how skipped maintenance compounds into larger bills, see what deferred maintenance typically costs.
8-12 years
Expected lifespan of properly applied exterior paint
Paint manufacturers commonly cite this range for wood siding under normal conditions when surface prep and application guidelines are followed.
2-3 years
Typical failure point for poorly prepared exterior paint
Contractors frequently report that DIY repaints with inadequate preparation show peeling or bubbling within two to three seasons.
80%
Of paint failures attributed to surface prep issues
Paint industry educators have long cited improper surface preparation as the cause of the large majority of exterior coating failures.
The mistakes that cause most failures
The errors below account for the large majority of premature exterior paint failures. Each one is avoidable with either more time spent on preparation or a small change in scheduling. None requires expensive tools or professional skill.
Painting over dirty, chalky, or wet surfaces without cleaning first.
Why it happens: Homeowners often see surface grime as cosmetic rather than structural. A quick visual check misses the chalky oxidation layer that builds up on older paint, which prevents adhesion even when the surface looks reasonably clean.
Skipping primer on bare wood, patched areas, or previously unpainted surfaces.
Why it happens: Paint cans often advertise paint-and-primer-in-one formulations, which leads many buyers to believe a separate primer step is unnecessary. Those products perform adequately on sound, previously painted surfaces but do not seal or stabilize bare or porous substrates the way a dedicated primer does.
Painting in temperatures below 50 degrees Fahrenheit or above 90 degrees Fahrenheit, or in direct midday sun.
Why it happens: Many homeowners schedule painting around their own availability rather than weather windows. Cold slows curing and leaves paint soft and prone to cracking; high heat causes the surface to dry before the paint film levels out, trapping moisture beneath.
Applying one thick coat instead of two thinner coats.
Why it happens: A single heavy coat feels faster and seems like it should cover better. In practice, a thick coat skins over on the outside while the interior stays wet for much longer, leading to wrinkling, sagging, and poor adhesion to the substrate.
Skipping or rushing caulk repairs around windows, trim, and siding joints before painting.
Why it happens: Caulking feels like a tedious extra step. Homeowners often assume paint will bridge small gaps or that existing caulk is still functional. Failed caulk lets water behind the paint film, which is the most direct route to peeling.
Not sanding or feathering the edges of existing peeling or flaking paint.
Why it happens: Scraping loose paint feels like enough. The visible flake comes off, but the edge between old paint and bare substrate forms a ridge. Paint applied over that ridge telegraphs through and eventually lifts at the same line.
Repainting over failed paint makes it worse
Applying fresh paint over peeling or poorly bonded paint does not seal the problem. The new coat adds weight and moisture exposure that accelerates further failure. Any area with adhesion failure must be scraped, sanded, and primed before recoating. Skipping that step means a third repaint is nearly certain.
Getting the sequence right before you open the first can
Preparation should take at least as long as the painting itself, and often longer. The correct sequence is: clean, dry, scrape, sand, caulk, prime, then paint. Cutting any step from that list is where most failures originate. If your surface has existing mildew staining, treat it with a diluted bleach solution and rinse thoroughly before any other step; painting over mildew does not kill it and the staining will bleed through.
Paint applied outside the manufacturer's temperature and humidity windows may look fine on day one and show failure within weeks. Read the technical data sheet, not just the front of the can. Most are available on the manufacturer's website and spell out minimum surface temperature, air temperature, and maximum relative humidity.
For a practical schedule of when to inspect and address exterior surfaces before problems develop, the seasonal home maintenance checklist covers timing across the year. And if you have heard that primer is unnecessary with modern paints, common DIY myths that cost money addresses that and similar misconceptions directly.