
Why air sealing pays for itself
A house breathes through hundreds of small gaps: the joint where a window frame meets drywall, the gap under a door, the hole a plumber cut around a pipe decades ago. Each gap is small on its own, but together they can add up to the equivalent of leaving a window open all winter. The U.S. Department of Energy has noted that air leaks are one of the largest sources of wasted heating and cooling energy in American homes.
The good news is that fixing leaks requires inexpensive materials and a few hours of work rather than a contractor or permit. This makes air sealing one of the few home improvement tasks where the payback period is measured in months, not years. For context on what deferred maintenance can cost when small gaps are ignored, see the hidden costs of skipping routine home maintenance.
Two materials handle most situations: caulk for fixed joints and weatherstripping for movable ones. Knowing which to use where prevents wasted effort and materials.
What you need before you start
Gather your tools and do a draft survey before buying anything. Hold a lit candle or a stick of incense near window frames, door edges, electrical outlets on exterior walls, baseboards, and any pipe or wire penetrations. Moving smoke reveals airflow even when you cannot feel it with your hand. Mark problem spots with painter's tape so you can prioritize.
What you will need
Caulk gun
Dispenses tube caulk at a controlled rate for a clean, consistent bead along joints.
Putty knife or caulk-removal tool
Removes old or failed caulk from joints so the new application can bond to clean surfaces.
Utility knife
Cuts weatherstripping to precise lengths and trims caulk tube tips cleanly.
Expanding foam sealant (can type)
Fills large or irregular gaps around pipes, conduit, and structural penetrations where caulk cannot bridge the gap.
Door sweep
Blocks the gap between the bottom of an exterior door and the threshold, which weatherstripping tape cannot seal.
Step-by-step air-sealing process
Work through the house in a logical order: windows first, then exterior doors, then penetrations. This avoids re-contaminating cleaned surfaces with dust stirred up during other work.
Survey the house for leaks
On a cold or windy day, move a lit candle or incense stick slowly around window frames, door edges, electrical outlets on exterior walls, baseboards, attic hatches, and any visible pipe or wire penetrations. Flickering or deflected smoke indicates airflow. Mark each spot with a small piece of painter's tape. Prioritize gaps you can feel with your hand; those are the largest and will return the most savings when sealed.
Remove old caulk and clean surfaces
Use a putty knife or dedicated caulk-removal tool to cut and lift existing caulk from joints around windows, door frames, and any penetrations you plan to re-seal. Work carefully to avoid gouging wood or drywall. Once the old material is out, wipe the joint with a clean damp rag to remove dust and residue. Let the surface dry completely before proceeding. Caulk applied to a wet or dirty surface will not adhere and will fail quickly.
Apply caulk to fixed gaps
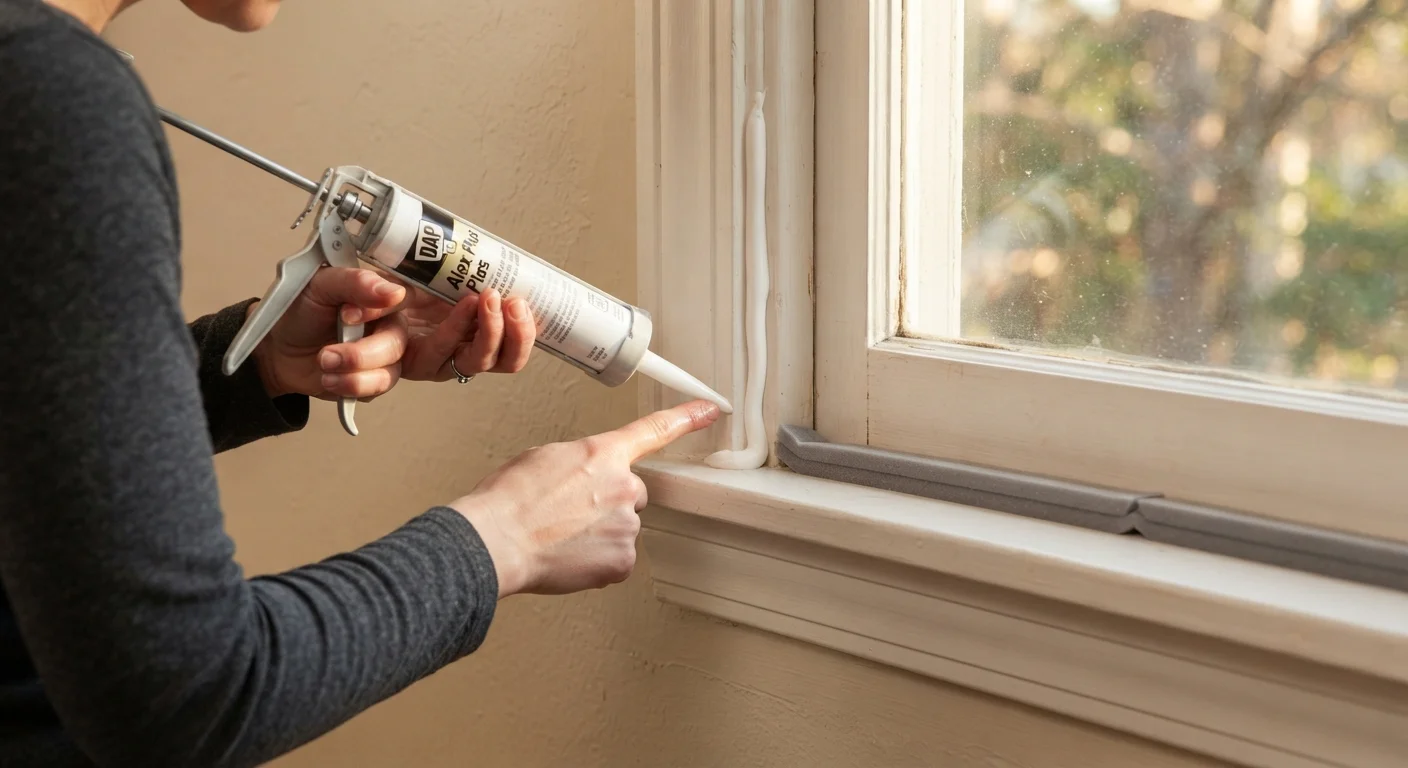
Load the caulk tube into the gun and cut the tip at a 45-degree angle to create an opening slightly smaller than the gap you are filling. Starting at one end of the joint, hold the gun at a consistent angle and move smoothly along the gap in one continuous pass. Apply light, even pressure on the trigger. After the full run, wet your fingertip or use a caulk-smoothing tool to press the bead into the joint and create a concave surface. Wipe away excess immediately with a damp rag.
Install weatherstripping on doors
Measure the full perimeter of the door stop (the three sides of the frame the door closes against). Cut self-adhesive foam or V-strip weatherstripping to length for each side. For foam tape, peel the backing and press it firmly along the door stop face so the door compresses it when fully closed. For V-strip, fold it so the open side of the V faces outward, then nail or press it into the channel between the door and the stop. Test by closing the door and checking for light along all edges.
Seal penetrations with expanding foam
For gaps larger than about half an inch around pipes, conduit, or structural openings, expanding foam sealant is more practical than caulk. Shake the can, attach the straw applicator, and fill the gap to about half its depth. The foam will expand to fill the rest. Do not overfill: excess foam is difficult to remove once cured. Allow the foam to cure fully (typically several hours) before trimming any excess flush with a utility knife.
Verify your work
Once all materials have cured according to their label instructions, repeat the candle or incense test at every location you treated. A gap you missed will still show airflow; a properly sealed joint will not. Check that weatherstripped doors close smoothly without excessive force, which would indicate the strip is too thick for the gap. Doors that require hard slamming to latch will wear the latch hardware faster and defeat the purpose of the seal.
Choosing the right product type
Caulk comes in several formulations. Paintable latex caulk suits interior window and door trim where you plan to paint over the bead. Silicone or siliconized latex caulk holds up better in high-moisture areas like bathrooms or where two dissimilar materials meet, such as wood against brick. Expanding foam sealant fills larger irregular gaps around pipes or conduit but should be used sparingly: it expands significantly and can bow window frames if overapplied in confined spaces.
Weatherstripping also comes in several forms. Self-adhesive foam tape is the easiest to install and works for lightly used doors and windows, though it compresses over time and may need replacing every few years. V-strip (tension seal) weatherstripping is more durable and handles gaps that vary along the length of a door edge. Door sweeps attach to the bottom of an exterior door and block the gap above the threshold where foam tape cannot reach effectively.
For a broader view of seasonal tasks that complement air sealing, the seasonal home maintenance checklist covers inspections and small repairs that keep a home running efficiently year-round.
Common mistakes and how to avoid them
Applying caulk over old, cracked caulk is the most common error. The new bead will not bond well to a compromised surface and will fail sooner. Always remove old material with a putty knife or caulk-removal tool and clean the joint before applying fresh caulk.
A second frequent mistake is sealing areas that need ventilation. Combustion appliances such as gas furnaces and water heaters require controlled air for safe operation. Do not seal around flues, draft hoods, or any vent pipe. If you are unsure whether an opening serves a combustion appliance, consult a qualified HVAC technician before sealing it.
Finally, consider indoor air quality after tightening a house. A well-sealed home reduces uncontrolled infiltration, which is good for energy use, but it also means the home relies more on intentional ventilation. The guide to improving indoor air quality affordably covers practical ventilation habits that work alongside an air-sealed home.