
What DIY grout work actually involves
Grout is the material that fills joints between tiles. It holds tiles in position, prevents water from reaching the substrate below, and takes the most visible wear of any surface in a tiled area. Over time it absorbs dirt, soap scum, hard water minerals, and mold spores, which is why it discolors faster than the tile itself.
There are two routine maintenance tasks most homeowners can handle without a contractor: cleaning stained grout and applying a fresh coat of sealer. A third task, regrouting (raking out and replacing deteriorated grout), is more involved but still within reach for someone comfortable with basic home repair. The article on DIY home repair myths covers why skipping these kinds of maintenance steps often leads to larger costs later.
Before starting any of these tasks, check what type of grout you have. Sanded grout is used in joints wider than about 1/8 inch and has a slightly rough texture. Unsanded grout is used in narrower joints and is smoother. Most tile sealers work on both, but regrouting requires matching the original type. Epoxy grout, found in some commercial installations, generally does not need sealing and is much harder to work with; if you are unsure whether your tile uses it, check with whoever installed it or consult a tile professional before proceeding.
What you will need
Cleaning stained grout
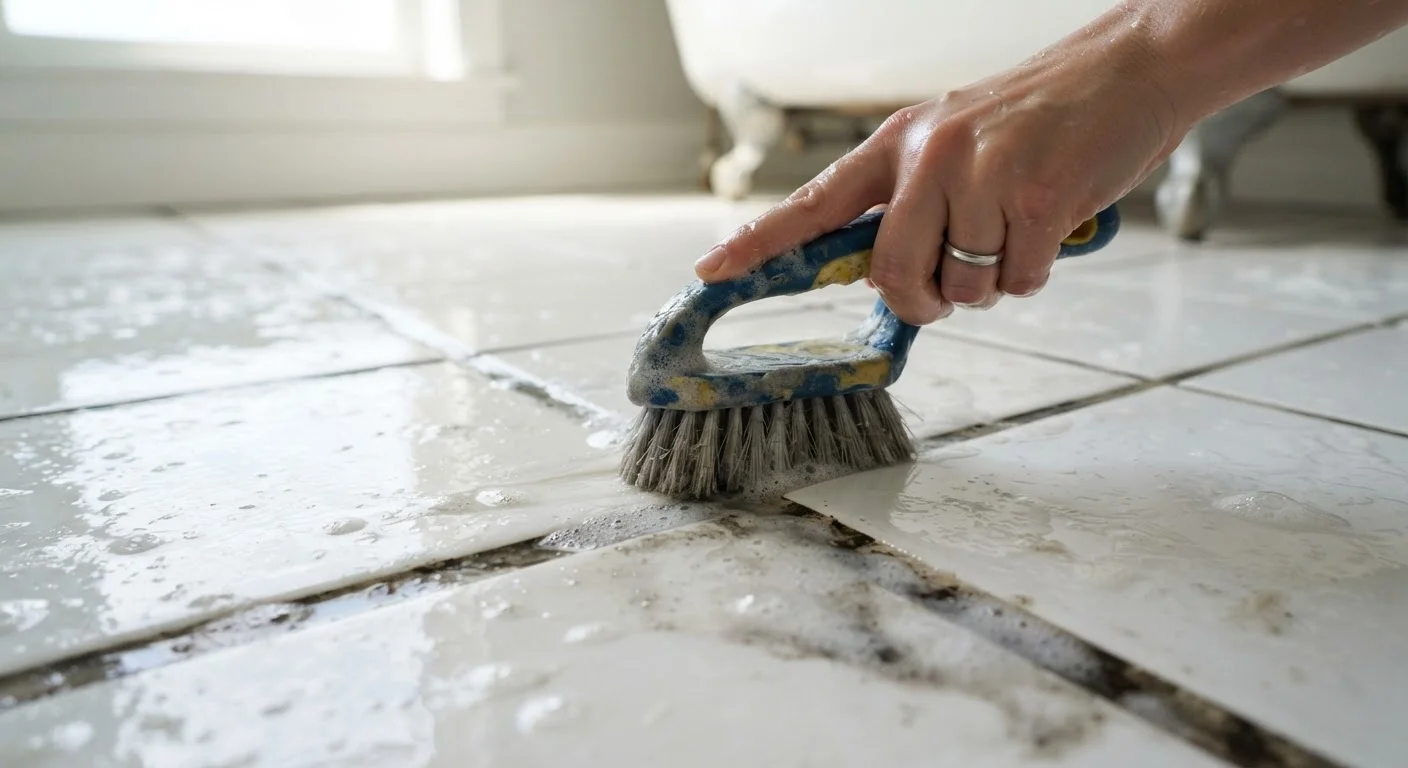
Start with the least aggressive method and work up only if needed. For light discoloration, warm water and a stiff nylon brush (not metal, which can scratch grout) will remove surface grime. Apply the water, scrub in a circular motion along each joint, and wipe away the residue with a damp cloth.
For moderate staining, a paste of baking soda and water applied directly to the grout line and left for five to ten minutes before scrubbing removes soap scum and light mold effectively. Rinse thoroughly afterward so no residue remains under the eventual sealer coat.
Oxygen bleach powder mixed with warm water is a stronger option for grout that has gone gray or yellow. Apply it, let it sit for 15 to 30 minutes, then scrub and rinse. Avoid chlorine bleach in enclosed areas without strong ventilation; the fumes are an irritant. Never mix bleach with any other cleaning product.
Ventilate before you scrub
Open windows and run an exhaust fan whenever you use cleaning agents on grout, even products marketed as gentle. Enclosed bathrooms concentrate fumes quickly. If you experience dizziness or irritation, stop and get fresh air before continuing.
If mold appears to go below the surface of the grout or you see soft, discolored backer board around the tile edges, stop and get a professional assessment. Surface mold is a maintenance issue; structural mold is a health and construction issue that goes beyond what cleaning can fix.
Reapplying grout sealer
Sealer is what keeps grout from absorbing water and staining quickly. It wears off over time, faster in showers and around sinks than on dry floor areas. A simple water test tells you whether it is still working: drop a few beads of water on the grout. If they bead up, the sealer is intact. If the water soaks in within a minute or two, resealing is due.
The grout must be completely clean and fully dry before sealer is applied. Any moisture or residue trapped beneath the sealer will prevent it from bonding. After cleaning, allow at least 24 hours of drying time in a shower area, longer if ventilation is poor.
Apply sealer with a small foam brush or a sealer applicator bottle along each joint. Work in sections to avoid spreading sealer across the tile face, and wipe any overspray off the tile surface before it dries. Follow the product's stated cure time before exposing the area to water. Most penetrating sealers for residential grout require 24 to 72 hours before the area should get wet.
Reapply every one to two years in showers and around kitchen sinks. Floor grout in low-moisture areas can typically go two to three years between applications.
Replacing damaged grout
Cracked or crumbling grout is a water-infiltration risk. The repair involves raking out the old material, cleaning the joint, and pressing in fresh grout. This takes patience more than skill.
Use a grout saw or oscillating multi-tool with a grout removal blade to cut out the damaged section to a depth of about 1/4 inch. Work carefully to avoid chipping the tile edges. Vacuum out loose debris, then wipe the joint with a damp cloth and let it dry completely.
Mix or open your replacement grout according to the package instructions. Press it into the joint with a rubber grout float, holding it at a roughly 45-degree angle and working diagonally across the joints to pack them fully. Remove excess with the float, then let it firm up for the time stated on the package, typically 15 to 30 minutes. Wipe away the haze with a damp sponge, rinse the sponge frequently, and let the repair cure for 24 to 72 hours before sealing. For guidance on when a repair job moves beyond straightforward DIY, the article on knowing your DIY limits offers a useful parallel from another common home repair task.
When to call a professional
Not every grout problem is a DIY project. Tile that shifts or feels loose when pressed may have lost its adhesive bond to the substrate below. Re-grouting the surface will not fix a bonding failure, and walking on loose tile accelerates the damage.
Water damage behind the tile, wet or soft wall material, or efflorescence (the white powdery mineral deposits that appear when water has been moving through a wall) all point to moisture problems that go beyond the grout itself. A tile contractor or licensed contractor can assess whether the substrate needs repair or replacement before new tile work makes sense.
Large-scale regrouting of an entire shower or floor is also a case where professional labor may pay for itself. The physical demand of removing old grout from dozens of square feet is substantial, and errors in matching grout color or texture on a large, visible surface are hard to undo. A plain-language overview of home maintenance can help you develop a clearer sense of which tasks are worth learning and which are better delegated.